部署GitLab代码管理平台 2024

搭建公司/个人私有化的Gitlab/Github代码版本管理平台
文章耗时:5天(终于全流程走通),相关的应用或问题将持续更新。
怎么用
- 条件:个人域名,公网IP的小主机或服务器(或购得的VPS或网络服务器)
- 根据‘实现方法’中的步骤用docker搭建好gitlab平台
- IDE或者命令行,或WEB UI,访问gitlab代码版本管理/控制等功能
相关内容
实现方法
Docker命令搭建
1 | docker pull gitlab/gitlab-ce:latest |
1 | 实践过程中,这个下载过程需要持续好长时间,所以还单独使用docker pull |
1 | version: '3.6' |
这个docker-compose.yml文件,然后docker-compose up -d,在我的环境就能正常启动。
通过注释掉了environment 和 hostname的section以后可以正常启动,然后再耐心等待3-4分钟以后(不行就关闭重启来),启动成功
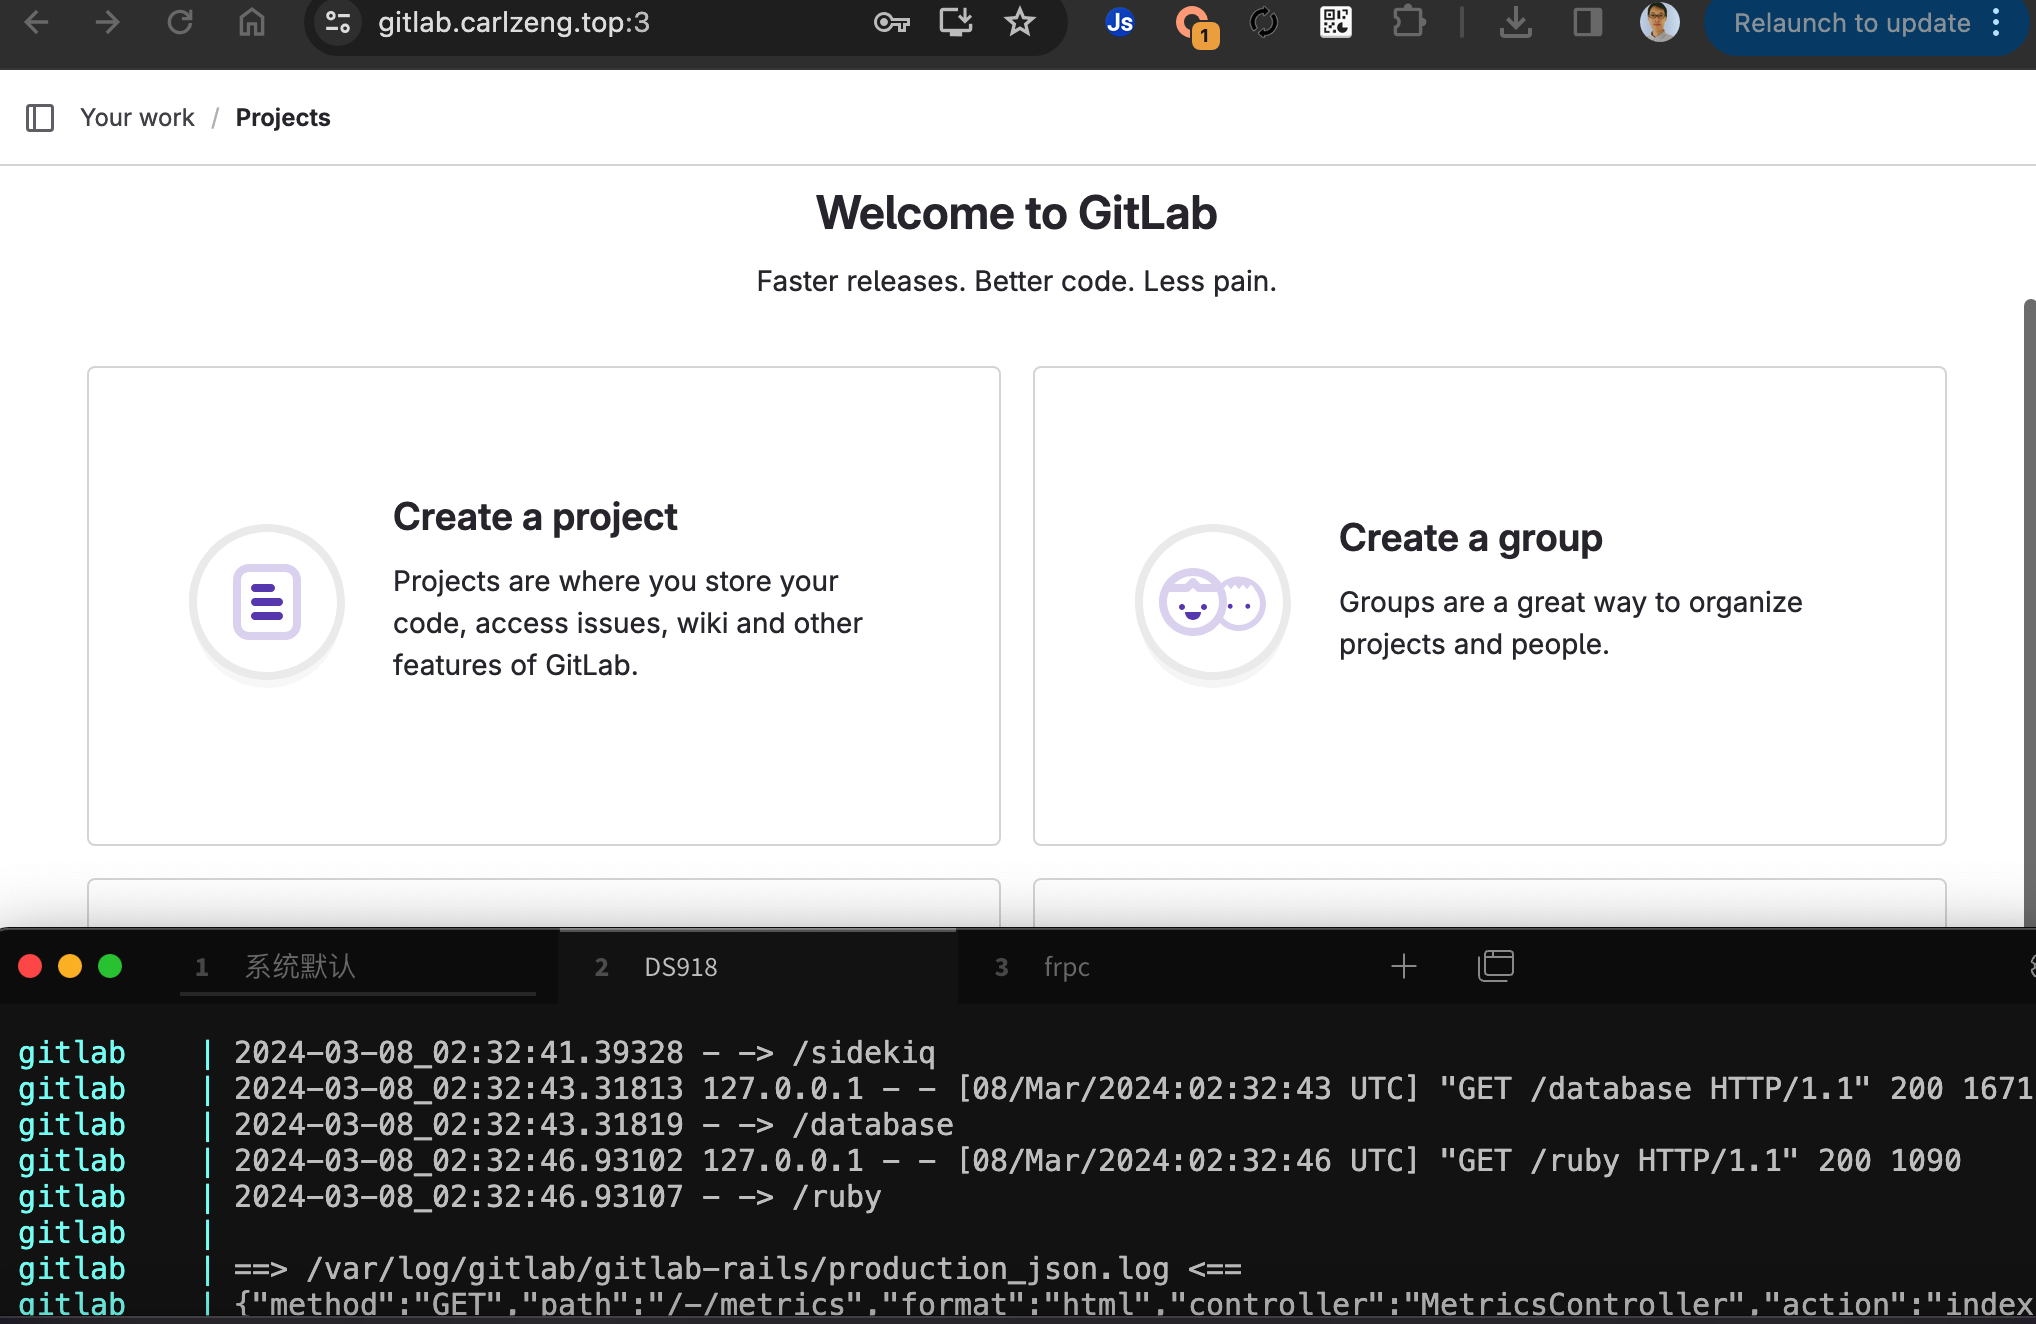
然后登录界面需要用户名和密码
1 | docker exec -it gitlab grep 'Password:' /etc/gitlab/initial_root_password |
这个命令可以获取初始化root用户的密码。或者使用config映射出来的目录,直接查看这个文件。
配置连接Gitlab端口(非标准443端口)
git remote 非标准端口
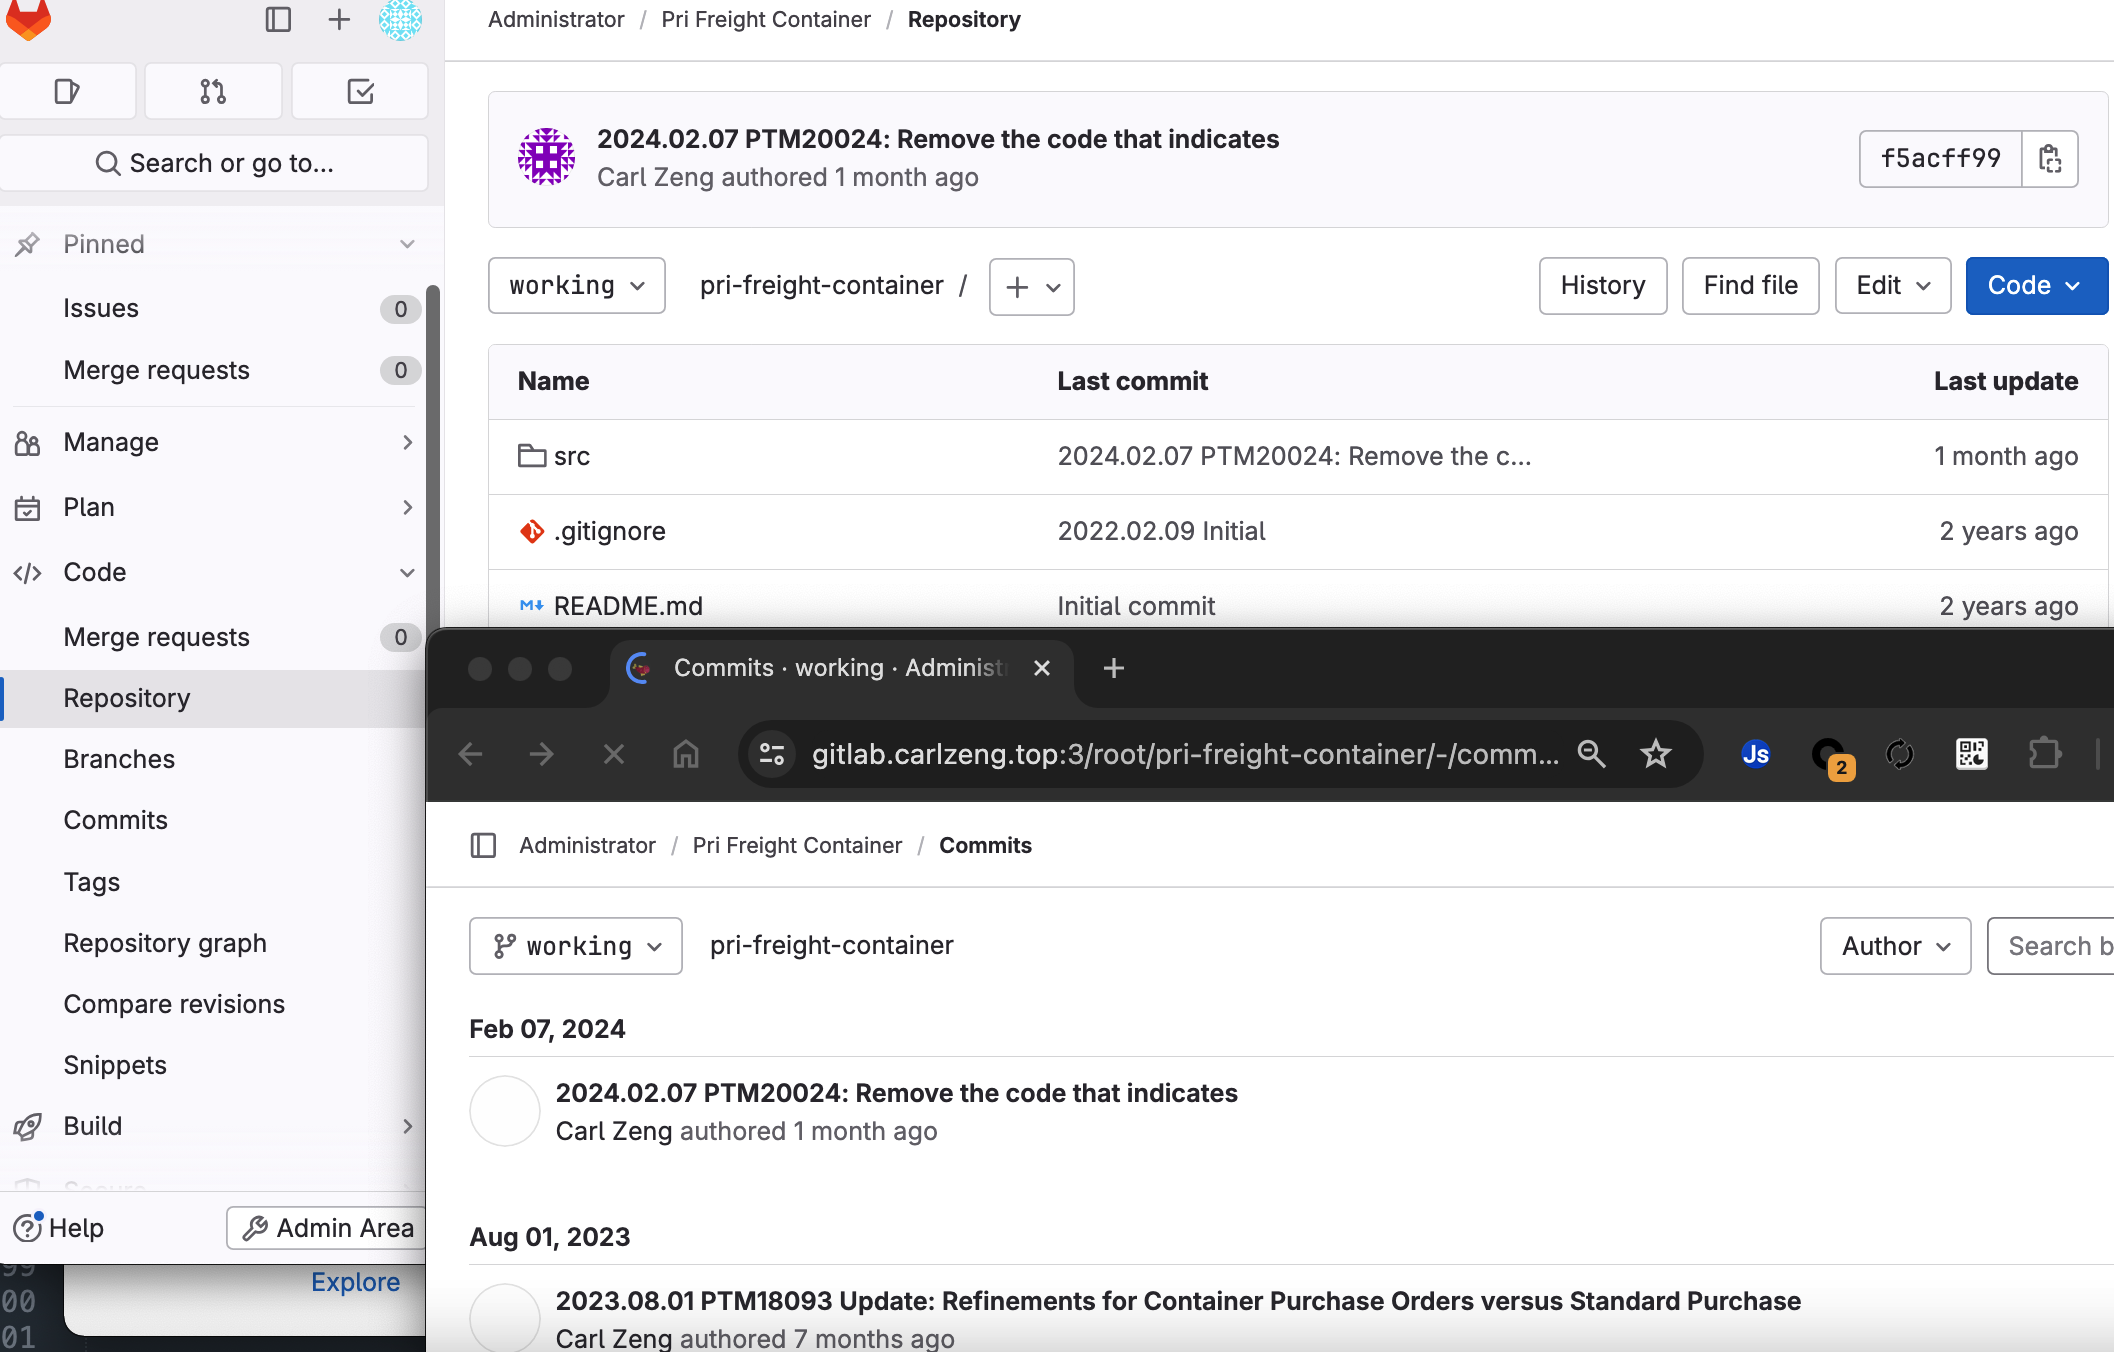
测试使用IntelliJ IDEA来提交project到https://gitlab.carlzeng.top:3/
https://gitlab.carlzeng.top:3/root/proxypool.git
配置remote提示错误:unable to access ‘https://gitlab.carlzeng.top:3/root/proxypool':LibreSSL SSL_connect: Connection reset by peer in connection to gitlab.carlzeng.top:443
解决办法(以问题中的特定例子来举例说明):
- cd 到相应目录,执行一下命令
- git remote set-url origin https://gitlab.carlzeng.top:3/root/proxypool.git
- 在IDE中push提示登录时,使用root用户登录即可
友情提示:
1 | git remote add origin https://gitlab.carlzeng.top:3/root/proxypool.git |
这条命令也可以使用,用来添加多个git的源(这样push的时候,多个远程仓库都可以同时得到更新);需要在命令行下切换到项目的主目录下使用。
Access denied
08:32:02.142: [goProjects] git -c core.quotepath=false -c log.showSignature=false push –progress –porcelain origin refs/heads/master:master
remote: HTTP Basic: Access denied. The provided password or token is incorrect or your account has 2FA enabled and you must use a personal access token instead of a password. See https://gitlab.carlzeng.top/help/topics/git/troubleshooting_git#error-on-git-fetch-http-basic-access-denied
fatal: Authentication failed for ‘https://gitlab.carlzeng.top:3/root/proxypool.git/‘
解决办法:
用root用户登录即可
Email SMTP setup
vi /etc/gitlab/gitlab.rb


1 | docker-compose down |
现有项目同步至私有仓库
1 | 1. 添加新的project,在UI上操作 |
灵感来源
Gitlab install | SMTP Mail configure and test on Linux | User create delete password change